Trimming your dog’s nails is an important part of grooming that affects much more than just appearance. Overgrown nails can lead to discomfort, posture issues, and even long-term joint problems. While many pet owners feel nervous about clipping nails at home, the process can be safe and stress-free with the right knowledge and approach.
This article will guide you through how to safely trim your dog’s nails, what tools to use, how to avoid cutting too far, and how to make the experience comfortable for both you and your dog.
Why Nail Trimming Is So Important
When a dog’s nails grow too long, several issues can arise. Long nails can:
- Cause pain while walking, especially on hard surfaces
- Force the dog to shift their posture, leading to joint strain
- Break or split, sometimes painfully or dangerously
- Curl into the paw pad, causing injury or infection
- Make it harder for dogs to maintain proper balance
Even if your dog walks daily on pavement, which can help wear nails down naturally, most still need regular trims to stay comfortable.
How Often Should You Trim Your Dog’s Nails?
The ideal trimming frequency varies depending on your dog’s activity level, breed, and environment. On average, dogs should have their nails trimmed every three to four weeks.
Signs your dog’s nails are too long:
- You hear clicking on the floor when they walk
- Their nails curve visibly or touch the ground when standing
- They hesitate to walk on certain surfaces
- You notice them chewing or licking their paws frequently
Regular trims help maintain the quick—the soft tissue inside the nail—at a manageable length, which allows for safer cuts over time.
Tools You’ll Need
Before you begin, gather the right tools. Choose based on your dog’s size and your comfort level.
- Dog nail clippers: Available in two styles—scissor-type and guillotine-type
- Styptic powder or pencil: To stop bleeding if you cut too far
- Nail file or grinder (optional): To smooth rough edges
- Treats: For encouragement and positive reinforcement
- Towel or mat: To provide a non-slip surface
Avoid using human nail clippers—they can crush rather than cut a dog’s nails cleanly.
Understanding the Structure of a Dog’s Nail
Each dog nail contains:
- The hard outer shell (what you clip)
- The quick (a pink or gray section inside that contains nerves and blood vessels)
In dogs with light-colored nails, the quick is usually visible as a pinkish area. In dark nails, it’s harder to see—so you’ll need to trim carefully and conservatively to avoid cutting into it.
Cutting the quick causes pain and bleeding, but it’s treatable if it happens.
Preparing Your Dog for Nail Trimming
If your dog is unfamiliar with nail trimming, begin by getting them comfortable with the tools and process.
Steps to desensitize your dog:
- Let them sniff and inspect the clippers or grinder
- Touch their paws regularly without trimming
- Press gently on their toes to extend the nails
- Offer treats and praise after each touch or practice session
Once your dog is calm and tolerant of their paws being handled, you can move forward with trimming.
Step-by-Step Guide to Trimming Your Dog’s Nails
1. Choose a Calm Time and Space
Pick a time when your dog is relaxed—after a walk or play session is ideal. Use a well-lit area so you can see what you’re doing.
Have your tools within reach before starting.
2. Position Your Dog Comfortably
Small dogs can sit in your lap or on a raised surface with a towel. Large dogs can lie on their side or stand with support from another person if needed.
Keep the mood calm and relaxed. Speak in a soothing voice.
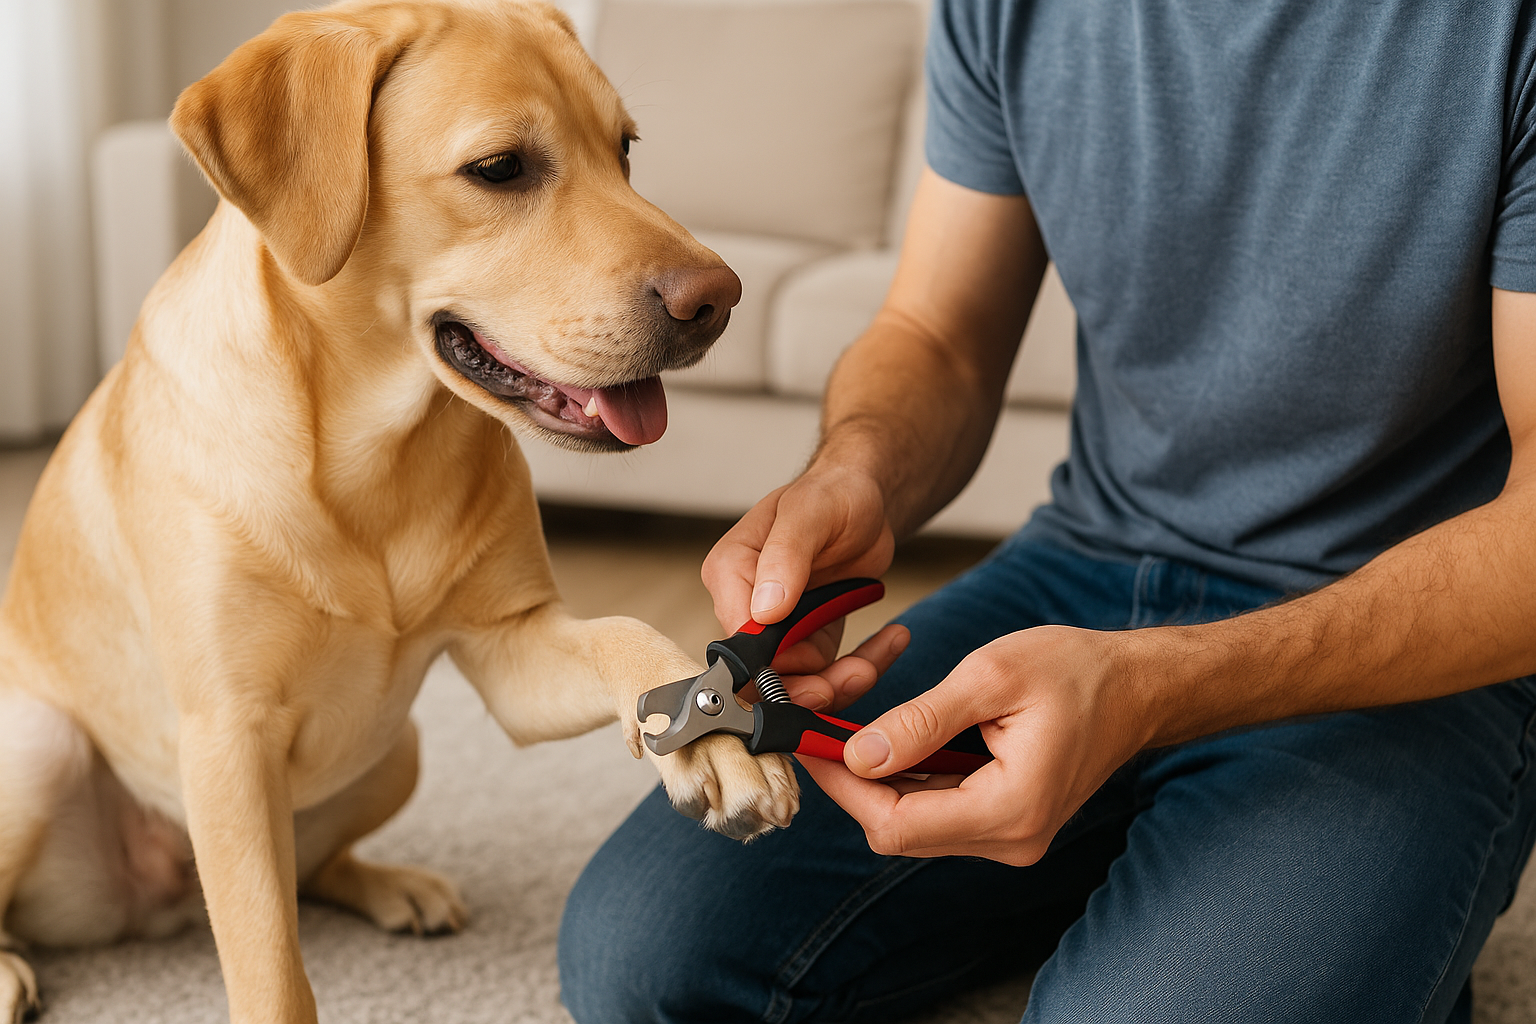
3. Hold the Paw Gently but Firmly
Hold one paw in your non-dominant hand and a clipper in your dominant hand. Press gently on the pad to extend the nail.
Avoid squeezing the toes or pulling at the paw, which can cause discomfort.
4. Clip Small Bits at a Time
If your dog has clear nails, trim just before the pink quick. If the nails are dark, trim in small increments—about 1 to 2 millimeters at a time—watching for a dark dot in the center of the nail. That dot indicates you’re getting close to the quick.
Cut at a slight angle that mirrors the natural curve of the nail.
Take breaks between nails if your dog becomes restless.
5. Smooth Edges if Desired
After trimming, you can use a nail file or grinder to smooth any sharp or uneven edges. This is especially useful for dogs that scratch floors or furniture.
6. Praise and Reward
Offer a treat and plenty of praise after trimming each paw—or even after each nail, especially for nervous dogs. Ending on a positive note builds trust and makes the process easier in the future.
What to Do If You Cut the Quick
Mistakes can happen, even for experienced pet owners. If you accidentally cut the quick and your dog’s nail begins to bleed:
- Remain calm—your dog will mirror your reaction
- Apply styptic powder to the tip of the nail and apply gentle pressure
- If you don’t have styptic powder, cornstarch or baking soda can help
- Hold pressure for a few minutes until the bleeding stops
- Avoid letting your dog walk on rough surfaces immediately after
The bleeding should stop within a few minutes. If it doesn’t, or if your dog shows signs of persistent pain, consult your vet.
Using a Nail Grinder Instead of Clippers
Some owners prefer using a nail grinder (also called a Dremel tool) instead of clippers. Grinders gradually file the nail down rather than cutting it, which can help avoid quicking the nail.
Benefits of grinders:
- More control, especially with dark nails
- Smoother finish
- Less risk of splintering
However, grinders can be noisy and take longer. If your dog is sound-sensitive, introduce the tool gradually and use plenty of positive reinforcement.
Tips for a Successful Routine
- Trim your dog’s nails when the house is quiet and distractions are minimal
- Work in short sessions—several minutes a day is better than a rushed full trim
- If you’re nervous, trim just one or two nails at a time
- Keep a log or set reminders to stay consistent
- Ask your vet or groomer for a demo if you’re unsure about technique
The more often you trim, the easier it becomes—both for keeping the nails short and building your dog’s tolerance.
When to Seek Professional Help
You should consider a groomer or veterinarian if:
- Your dog becomes aggressive or extremely anxious during nail trims
- You’re unable to safely hold or manage your dog
- The nails are severely overgrown or curled into the paw pads
- Your dog has health issues that make trimming risky or painful
Some clinics offer quick, affordable nail trim appointments without requiring a full exam.
Final Thoughts
Trimming your dog’s nails at home may seem intimidating at first, but with the right tools, patience, and a gentle approach, it becomes a manageable part of your grooming routine. Regular nail care keeps your dog comfortable, improves their mobility, and prevents long-term health issues.
The key is to take it slow, reward progress, and stay consistent. Over time, you and your dog will grow more confident—and you’ll both enjoy the benefits of healthy, well-maintained paws.