Ear care is an important but often overlooked part of a dog’s grooming routine. Dogs rely heavily on their ears—not just for hearing, but for balance and communication. When neglected, their ears can become a breeding ground for bacteria, yeast, and parasites, potentially leading to infections and discomfort.
The good news is that regular at-home ear cleaning can prevent many of these issues. With a gentle approach, the right tools, and a little patience, you can safely clean your dog’s ears and support their overall health.
In this article, you’ll learn how to tell when your dog’s ears need cleaning, how to do it safely, what products to use, and what signs may require a trip to the vet.
Why Cleaning Your Dog’s Ears Matters
Dogs’ ear canals are shaped differently from humans. Instead of a straight canal, a dog’s ear forms an “L” shape. This design traps moisture and debris more easily, especially in dogs with floppy ears or lots of hair in the ear canal.
When debris builds up and isn’t removed, it can create the perfect environment for infections. Regular cleaning helps:
- Remove wax and dirt buildup
- Prevent ear infections caused by yeast or bacteria
- Keep ears smelling fresh
- Reduce itching and irritation
It also gives you a chance to spot problems early—before they become serious.
How Often Should You Clean Your Dog’s Ears?
How often your dog’s ears need cleaning depends on several factors:
- Dogs with floppy ears (like Cocker Spaniels or Basset Hounds) may need cleaning once a week
- Breeds with upright ears may only need cleaning once or twice a month
- Dogs that swim or get wet often should be checked more frequently
- Some dogs naturally produce more wax and need regular maintenance
The best rule is to check your dog’s ears weekly. If they look dirty, smell bad, or your dog is scratching them frequently, it’s time to clean.
Signs Your Dog’s Ears Need Cleaning
Before you clean your dog’s ears, look for signs that indicate it’s necessary. These include:
- A musty or sour odor coming from the ears
- Visible dirt, wax, or debris inside the ear flap or canal
- Frequent scratching, rubbing, or head shaking
- Slight redness or inflammation (without signs of infection)
- Ear discharge that is yellow or brown
If you notice swelling, pus, heavy discharge, or if your dog cries when you touch their ears, don’t clean them at home. Those signs may indicate an infection or injury that needs veterinary attention.
What You’ll Need to Clean Your Dog’s Ears
Before you begin, gather a few basic supplies:
- A dog-specific ear cleaning solution (available at pet stores or from your vet)
- Cotton balls or gauze pads
- A clean towel
- Treats for positive reinforcement
Avoid using cotton swabs (Q-tips), as they can push debris deeper into the ear or accidentally damage the ear canal.
Choose an ear cleaner made specifically for dogs. Human ear solutions or alcohol-based products can be too harsh and drying.
Step-by-Step Guide: How to Clean Your Dog’s Ears
Cleaning your dog’s ears doesn’t have to be complicated. Here’s how to do it gently and effectively:
1. Choose a Calm Environment
Pick a quiet, well-lit space where your dog feels safe. Sit on the floor with your dog or have a helper hold them if they tend to squirm.
If your dog is small, you can place them on a counter or table with a towel underneath for stability.
2. Inspect the Ears
Before applying anything, check both ears for signs of redness, swelling, strong odor, or discharge. If the ears look normal but dirty, proceed. If you notice anything concerning, consult your vet.
3. Apply the Ear Cleaning Solution
Gently lift your dog’s ear flap and hold the bottle of cleaner just above the opening of the ear canal. Squeeze enough solution to fill the ear canal but not so much that it overflows.
Don’t insert the nozzle deep into the ear. Just rest it at the entrance to avoid damaging sensitive tissue.
4. Massage the Base of the Ear
Once the solution is inside, gently massage the base of the ear (where it connects to the head) for 20 to 30 seconds. You should hear a squishing sound—that’s the solution breaking up wax and debris.
This step helps distribute the cleaner and loosen buildup deep inside the canal.
5. Let Your Dog Shake
After massaging, let go of the ear. Most dogs will instinctively shake their head, which helps bring debris to the surface. You may want to hold a towel nearby to avoid getting splashed.
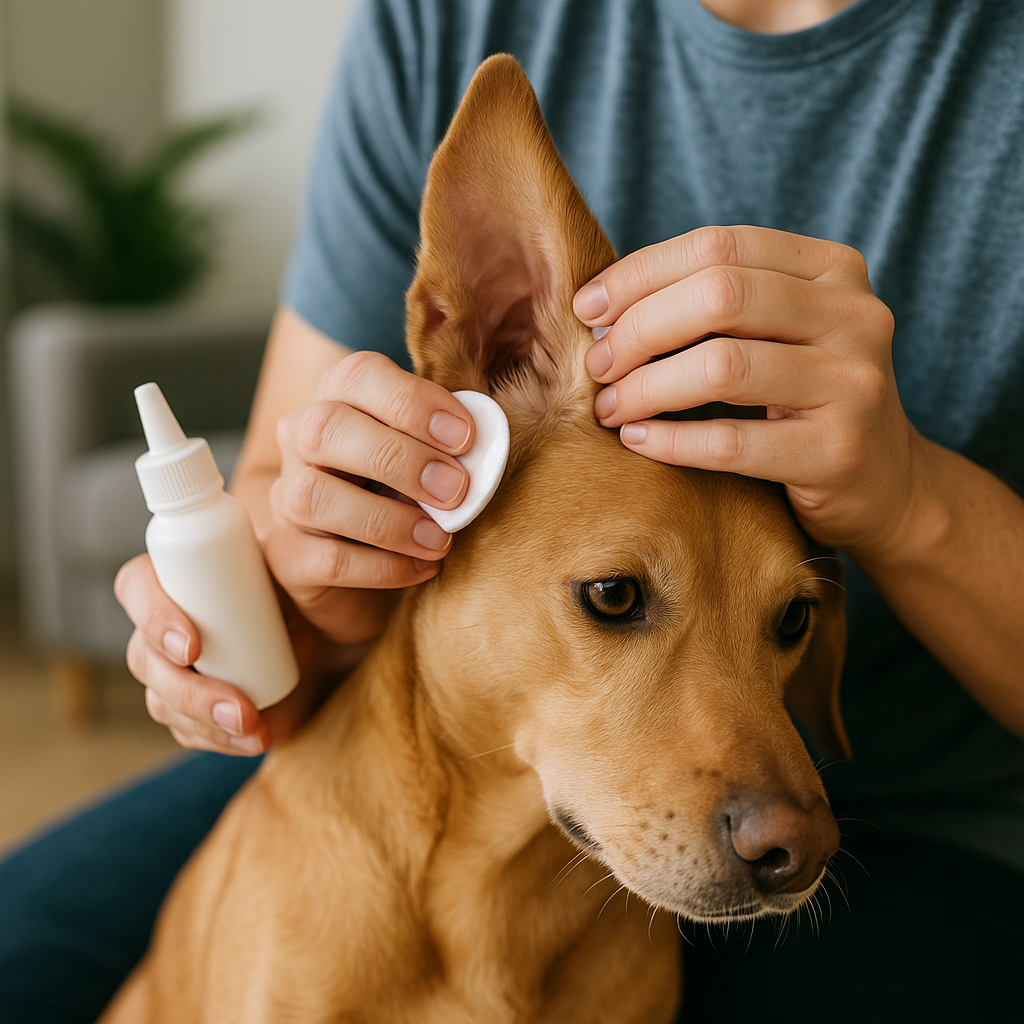
6. Wipe Away Debris
Use a cotton ball or gauze pad to gently wipe out the ear flap and the entrance to the ear canal. Don’t push anything deep into the ear. Only clean what you can see.
Repeat the process with a fresh cotton ball until the ear appears clean.
7. Repeat on the Other Ear
If both ears are dirty, repeat the entire process on the second ear using fresh supplies.
8. Reward Your Dog
End the session with lots of praise and a treat. This helps your dog associate ear cleaning with a positive experience and makes future cleanings easier.
Tips to Make Ear Cleaning Easier
- Use ear cleaner that is slightly warmed (not hot) to make it more comfortable
- Keep cleaning sessions short and calm—avoid restraining too tightly
- Practice handling your dog’s ears regularly, even when you’re not cleaning them
- Start young: puppies who get used to grooming are easier to manage as adults
- Reward cooperation during and after each step
Patience and consistency go a long way in making grooming a stress-free routine.
When Not to Clean Your Dog’s Ears at Home
Sometimes, cleaning at home can do more harm than good. Avoid cleaning if:
- Your dog is in pain when you touch their ears
- You see pus, blood, or dark, tar-like discharge
- There’s a strong, foul odor
- Your dog has had chronic ear infections
- The ear canal appears swollen shut or very red
In these cases, contact your veterinarian. Your dog may need medication, special treatment, or ear cytology to identify the underlying problem.
Preventing Ear Problems
In addition to routine cleaning, you can take steps to prevent issues:
- Dry your dog’s ears thoroughly after swimming or bathing
- Keep long ear hair trimmed or ask your groomer for help
- Avoid water or shampoo entering the ears during baths
- Don’t overclean—this can irritate the skin and increase infection risk
- Provide a balanced diet to support immune health
Some dogs, especially those with allergies or chronic skin conditions, may be more prone to ear issues. Work with your vet to create a care plan if needed.
Final Thoughts
Cleaning your dog’s ears doesn’t have to be a chore. With the right approach, it can be a simple part of your grooming routine—one that protects your dog’s comfort and long-term health.
By learning what’s normal, what’s not, and how to clean gently and effectively, you’ll keep your dog’s ears healthy and help prevent painful infections. Plus, you’ll build trust with your dog through regular, caring attention.
Your dog’s ears are sensitive, but with a little care, they can stay clean, comfortable, and problem-free.